One grain of dust can turn a five-figure camera kit into an expensive liability.
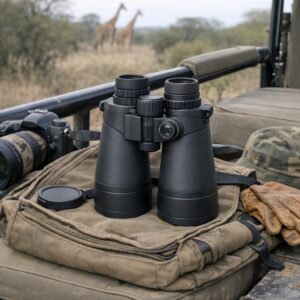
In deserts, construction zones, festivals, safaris, and windy outdoor shoots, dust does more than dirty your gear-it works into lens barrels, buttons, mounts, sensors, gimbals, and cooling vents.
Protecting high-end camera equipment in these environments requires more than a quick wipe-down or a rain cover. It takes a disciplined step-by-step system for preparation, field handling, cleaning, storage, and emergency response.
This guide shows you how to reduce dust exposure, prevent costly failures, and keep your camera gear performing reliably when conditions are anything but clean.
Why Dust Damages High-End Camera Gear: Key Risks to Sensors, Lenses, Seals, and Electronics
Dust is not just a cosmetic problem for professional camera equipment. On a mirrorless camera, the sensor is exposed every time you change lenses, so fine particles can show up as dark spots in skies, studio backdrops, or product photos-often costing hours in retouching or requiring a professional sensor cleaning service.
The bigger risk is abrasion. If dust gets dragged across a lens element, rear glass, filter, or image sensor during careless cleaning, it can cause micro-scratches that affect resale value and may lead to expensive lens repair costs. A simple tool like the Giottos Rocket Air Blower is safer than wiping first, because it removes loose particles without contact.
- Sensors: Dust spots become more visible at narrow apertures such as f/11 or f/16, especially in landscape, real estate, and commercial photography.
- Lenses and zoom barrels: Grit can work into moving parts, making zoom and focus rings feel rough or uneven over time.
- Seals and electronics: Weather-sealed camera bodies help, but they are not dustproof; fine particles can still collect around buttons, dials, card doors, and battery compartments.
In real-world shoots, the damage often happens during rushed lens changes-think desert portraits, motorsport events, construction sites, or outdoor weddings on dry ground. Keeping a sealed camera bag, microfiber cloths, a sensor cleaning kit, and a protective rain/dust cover nearby is much cheaper than downtime, repair shipping, or filing a camera insurance claim after preventable contamination.
Step-by-Step Field Protection Workflow for Cameras and Lenses in Dusty Shooting Conditions
Start before you expose the camera. Load batteries, format cards, and choose the lens you expect to use most inside your vehicle, tent, or a sealed camera bag so you reduce lens changes in open dust. A weather-sealed camera backpack, lens protection filter, and silica gel packs are low-cost compared with professional camera repair or sensor cleaning service fees.
Once on location, keep the camera pointed downward when swapping lenses and turn the camera body off first to reduce static around the sensor. Use a clean microfiber cloth to wipe the lens mount area before removing the lens, then cap the rear element immediately. In desert shoots, I’ve seen fine sand enter a camera body during a “quick” lens change that took less than 10 seconds.
- Use a blower such as the Giottos Rocket Air Blaster before brushing or wiping anything.
- Keep one “dirty hand” for tripods and bags, and one clean hand for lens mounts and filters.
- Store used cloths separately so they do not scratch coated glass later.
Between shots, cover the camera with a rain cover, dry bag, or even a clean cotton scarf if wind picks up suddenly. Avoid canned air in the field because it can force grit deeper into buttons, zoom rings, and camera body seams.
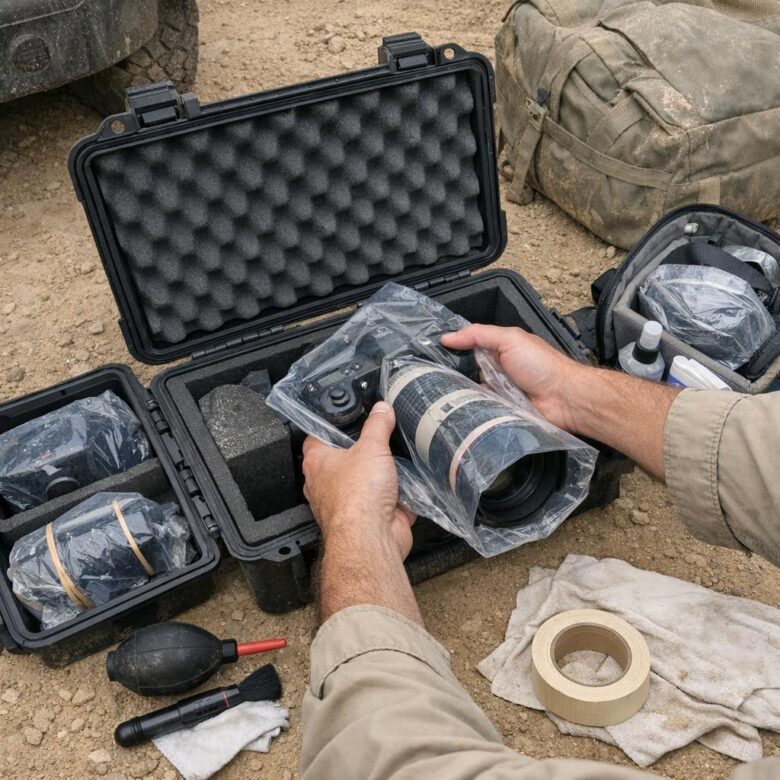
At the end of the shoot, do not open the camera bag immediately indoors. Let dust settle, vacuum the outside of the bag first, then clean gear in order: exterior body, lens barrel, filter, mount, and only then check the sensor if needed.
Advanced Cleaning, Storage, and Mistake-Prevention Strategies After Dust Exposure
After shooting in deserts, construction sites, motorsport tracks, or dry wedding venues, don’t rush to change lenses or wipe glass immediately. First, let the camera body, lens barrels, memory card door, and battery compartment sit in a clean indoor area so loose particles can settle before you start detailed camera cleaning.
Use a staged process: air first, brush second, wet cleaning last. A filtered blower such as the Giottos Rocket Air Blower, an anti-static brush, and a sensor cleaning kit sized for your camera sensor are safer than cheap microfiber cloths that may drag grit across coatings.
- Clean lens mounts and rear caps before cleaning the front element.
- Check rubber zoom rings, viewfinder edges, hot shoe contacts, and tripod plate grooves.
- Inspect sensor dust at f/16 or f/22 against a plain bright surface before using wet swabs.
A real-world mistake I see often: photographers clean the lens glass but put it back into a dusty camera bag. Vacuum the bag interior with a low-suction attachment, wipe dividers, and replace silica gel packs before storing expensive DSLR or mirrorless camera gear.
For storage, use a dry cabinet or sealed hard case with rechargeable desiccant, especially in humid climates where dust mixes with moisture and becomes harder to remove. Products like Ruggard Electronic Dry Cabinet or Pelican-style cases add cost, but they can reduce repair risk for high-end lenses, cinema cameras, and professional camera insurance claims.
The biggest prevention habit is simple: label one “clean zone” pouch for fresh caps, sensor swabs, and lens cloths. Never mix it with used rain covers, dusty straps, or field tools.
Expert Verdict on Step-by-Step Guide to Protecting High-End Camera Gear in Dusty Environments
Dust protection is less about one perfect accessory and more about disciplined habits repeated every time you shoot. If the environment can damage your gear, treat prevention as part of the job-not an optional extra. Choose sealed bodies and lenses when conditions are frequent, use covers when exposure is temporary, and stop to clean before dust turns into abrasion, sensor spots, or costly repairs. The best decision is the one that matches your shooting risk: light dust needs routine care, while desert, construction, or travel work demands a dedicated protection system. Protect the gear first, and the images follow.